JournalTechnique
Birds in flight: the autofocus and camera settings that work
A practical set-up for photographing birds in flight: autofocus modes, shutter speed, exposure and technique, from large raptors to small, fast birds.
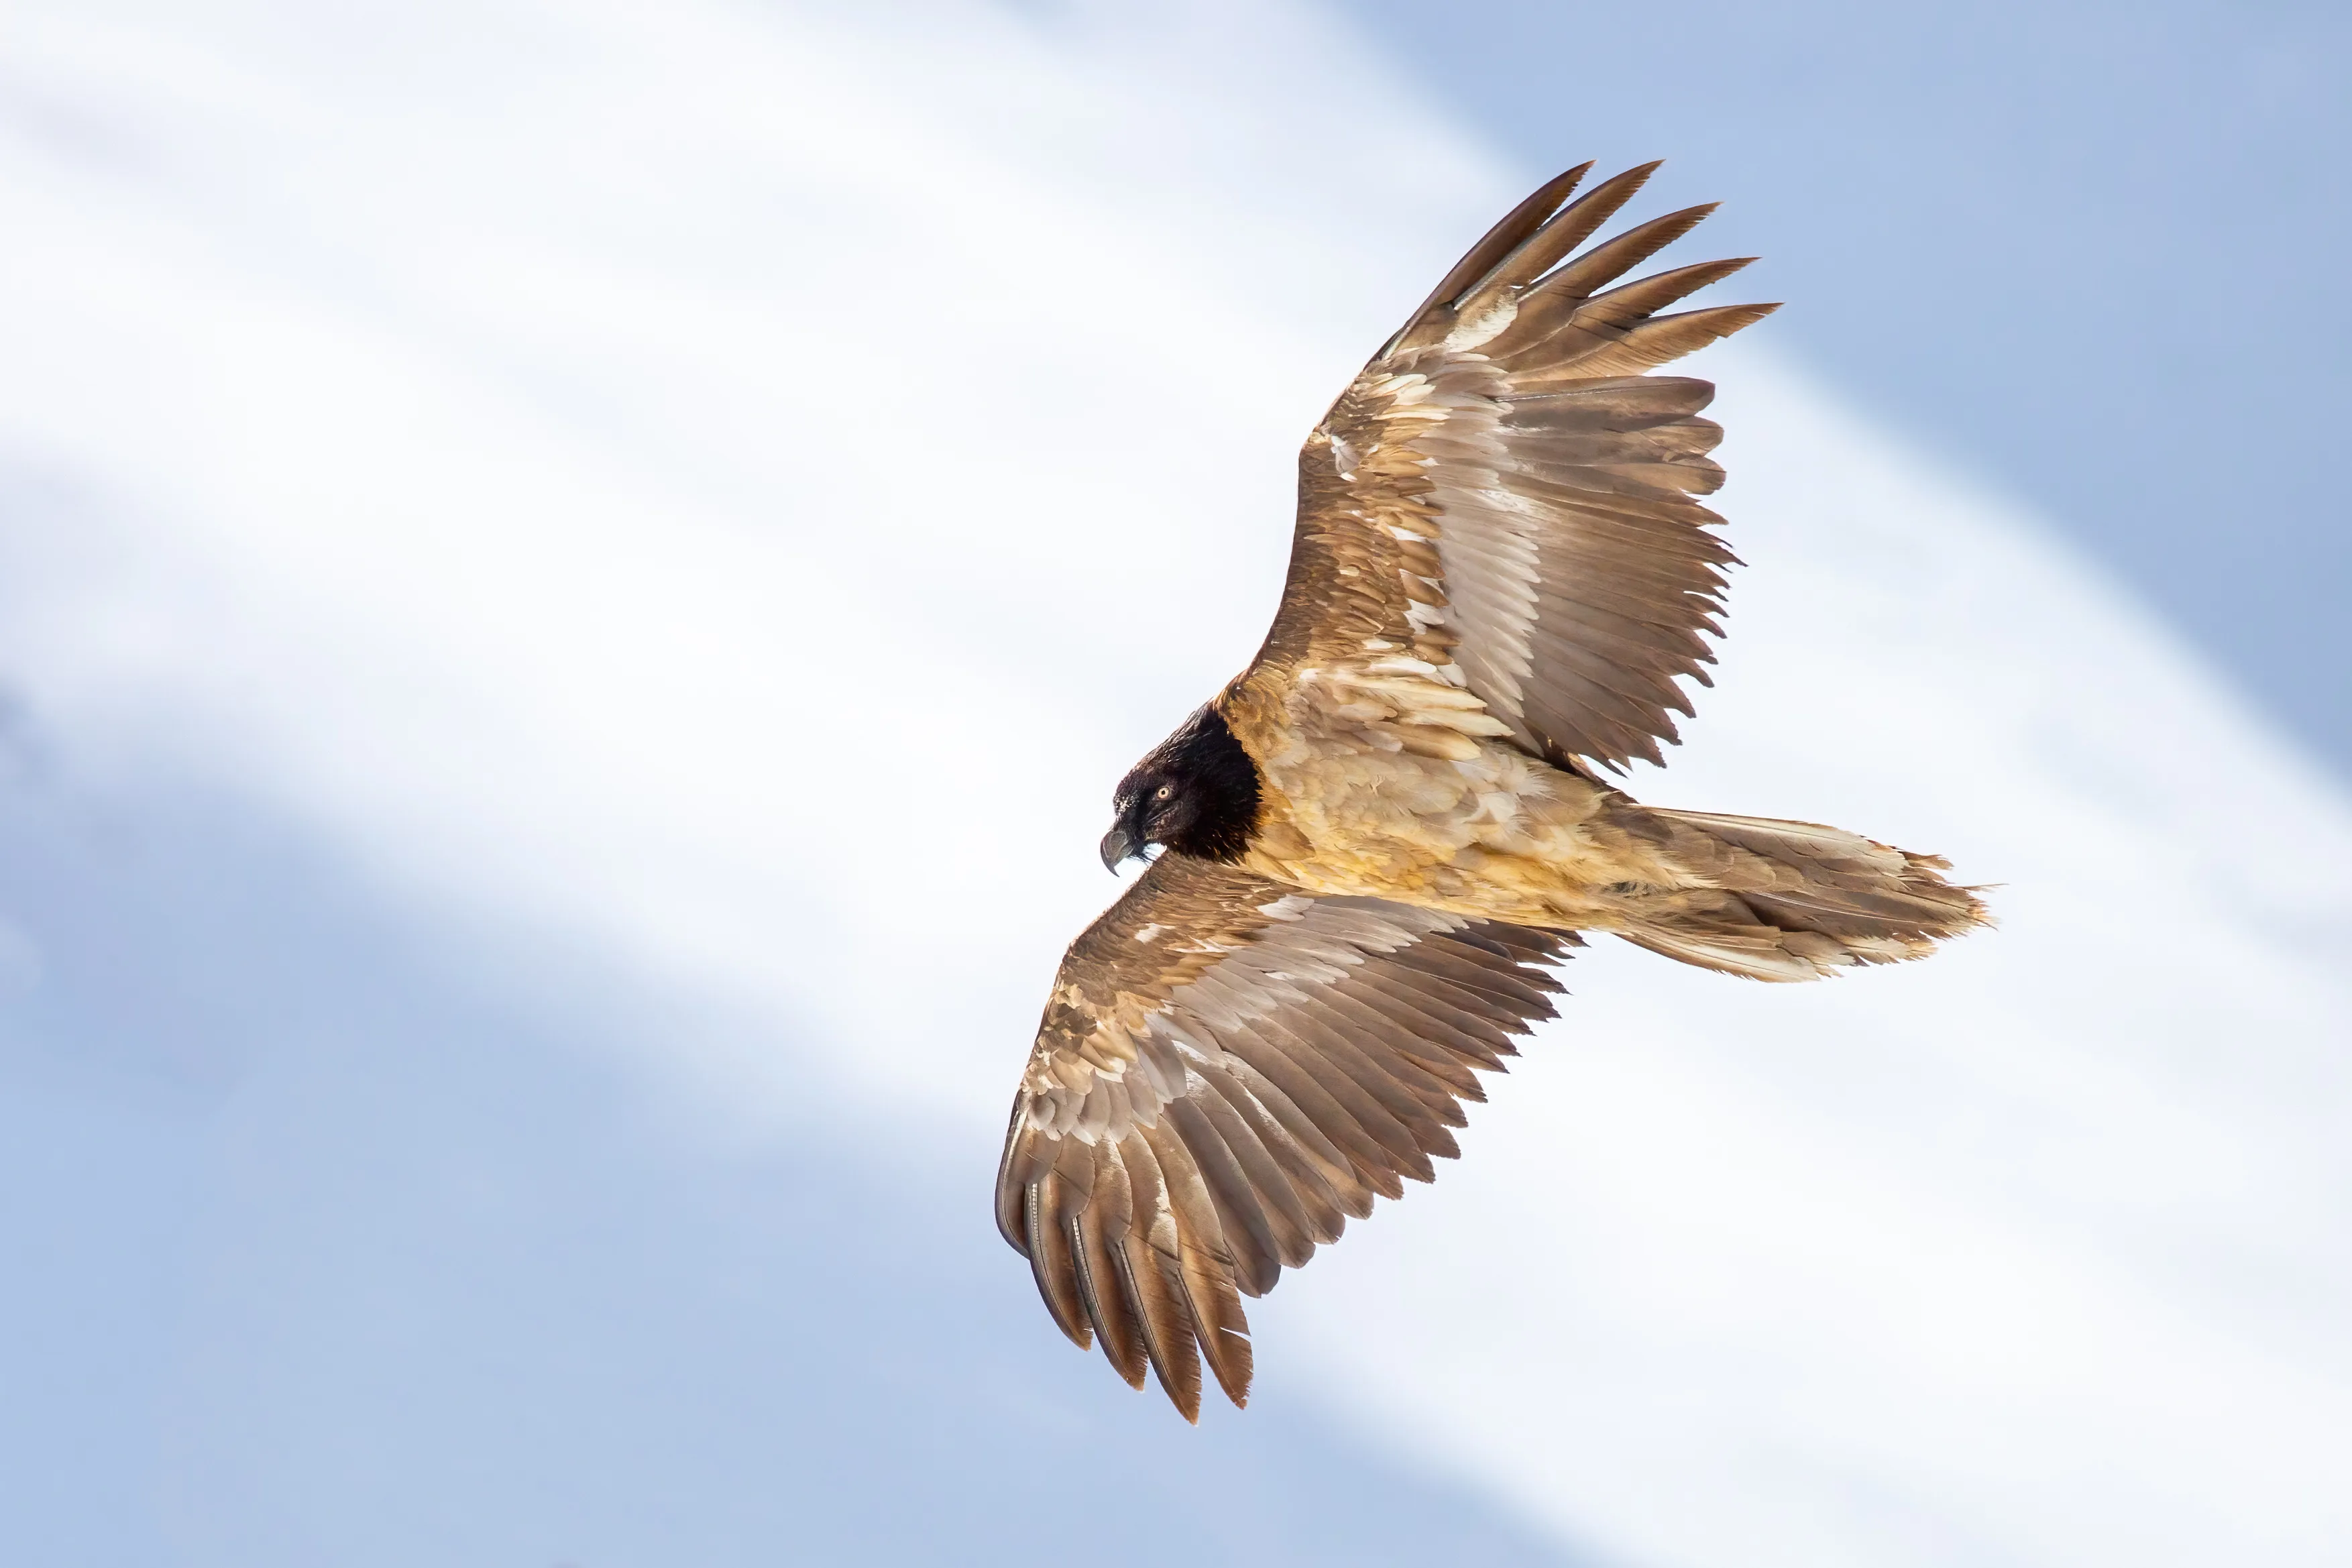
Flight photography has a reputation for being difficult, and it used to be. Modern autofocus has changed that. With the camera set up properly, most of what is left is technique you can learn in an afternoon.
This is a set-up to start from. It works on every current camera system; only the names of the menu items differ.
Autofocus
Continuous autofocus, always. It is called AF-C on Nikon, Sony and Fujifilm, and Servo on Canon. The camera keeps refocusing for as long as you hold the button.
Subject detection on, set to birds. If your camera can recognise birds and track the eye, use it. It is the single biggest advance in this kind of photography.
Choose the focus area to suit the background.
| Situation | Focus area |
|---|---|
| Bird against plain sky | Wide or whole-frame tracking |
| Bird against mountains or trees | A medium zone that you keep on the bird |
| Bird among branches or reeds | A small group of points or a single point |
Against a clean sky the camera has nothing else to lock on to, so let it use the whole frame. Against a busy background it will happily jump to the mountain behind, so give it less to choose from.
Back-button focus. Moving focus from the shutter button to a button under your thumb lets you focus and shoot independently. It takes a day to get used to and most people never go back.
Shutter speed
Speed depends on the size of the bird and how fast its wings move.
- Large soaring birds such as vultures and eagles: 1/1600 to 1/2000 s
- Medium birds such as kites, herons and crows: 1/2500 s
- Small, fast birds such as swifts, kingfishers and bee-eaters: 1/3200 s or faster
If you want sharp wingtips, go faster. If you are happy with a little blur in the tips to show movement, the lower end of each range is fine.
Exposure
Use manual mode with auto ISO, and set the shutter speed and aperture yourself. Open the aperture fully or stop down by one stop for a little extra depth of field.
Then watch the background, because it controls what the meter does.
- Bird against bright sky or snow: add +1 to +2 of exposure compensation, or the bird will be a silhouette.
- Bird against dark forest or rock: take off −0.3 to −1, or pale feathers will burn out.
When the light is steady, full manual with a fixed ISO removes the problem altogether. There is more on this in exposing for snow.
Technique
Find the bird with your eyes first. Lift the camera to your eye while still looking at the bird, so that the lens is already pointing at it. Searching the sky through a long lens is slow and frustrating.
Start wide, then zoom. With a zoom lens, find the bird at the short end and zoom in once you are tracking it.
Pick it up early. Start tracking while the bird is still too far away to photograph. By the time it is close, the autofocus has settled and you are moving smoothly.
Pan from the hips. Feet apart, elbows in, turn your whole upper body. Keep following through after you release the shutter.
Shoot short bursts. Three to five frames when the wing position and the light are right. Holding the button down for ten seconds gives you five hundred identical frames to sort through.
Light and position
Settings will not rescue a bad position. Keep the sun behind you where you can, so that the bird is lit from the front and there is light in the eye. A low sun is better than a high one, because it reaches under the wings.
Wind matters too. Birds take off, land and often hunt into the wind. With the wind and the sun both at your back, they fly towards you with the light on them.
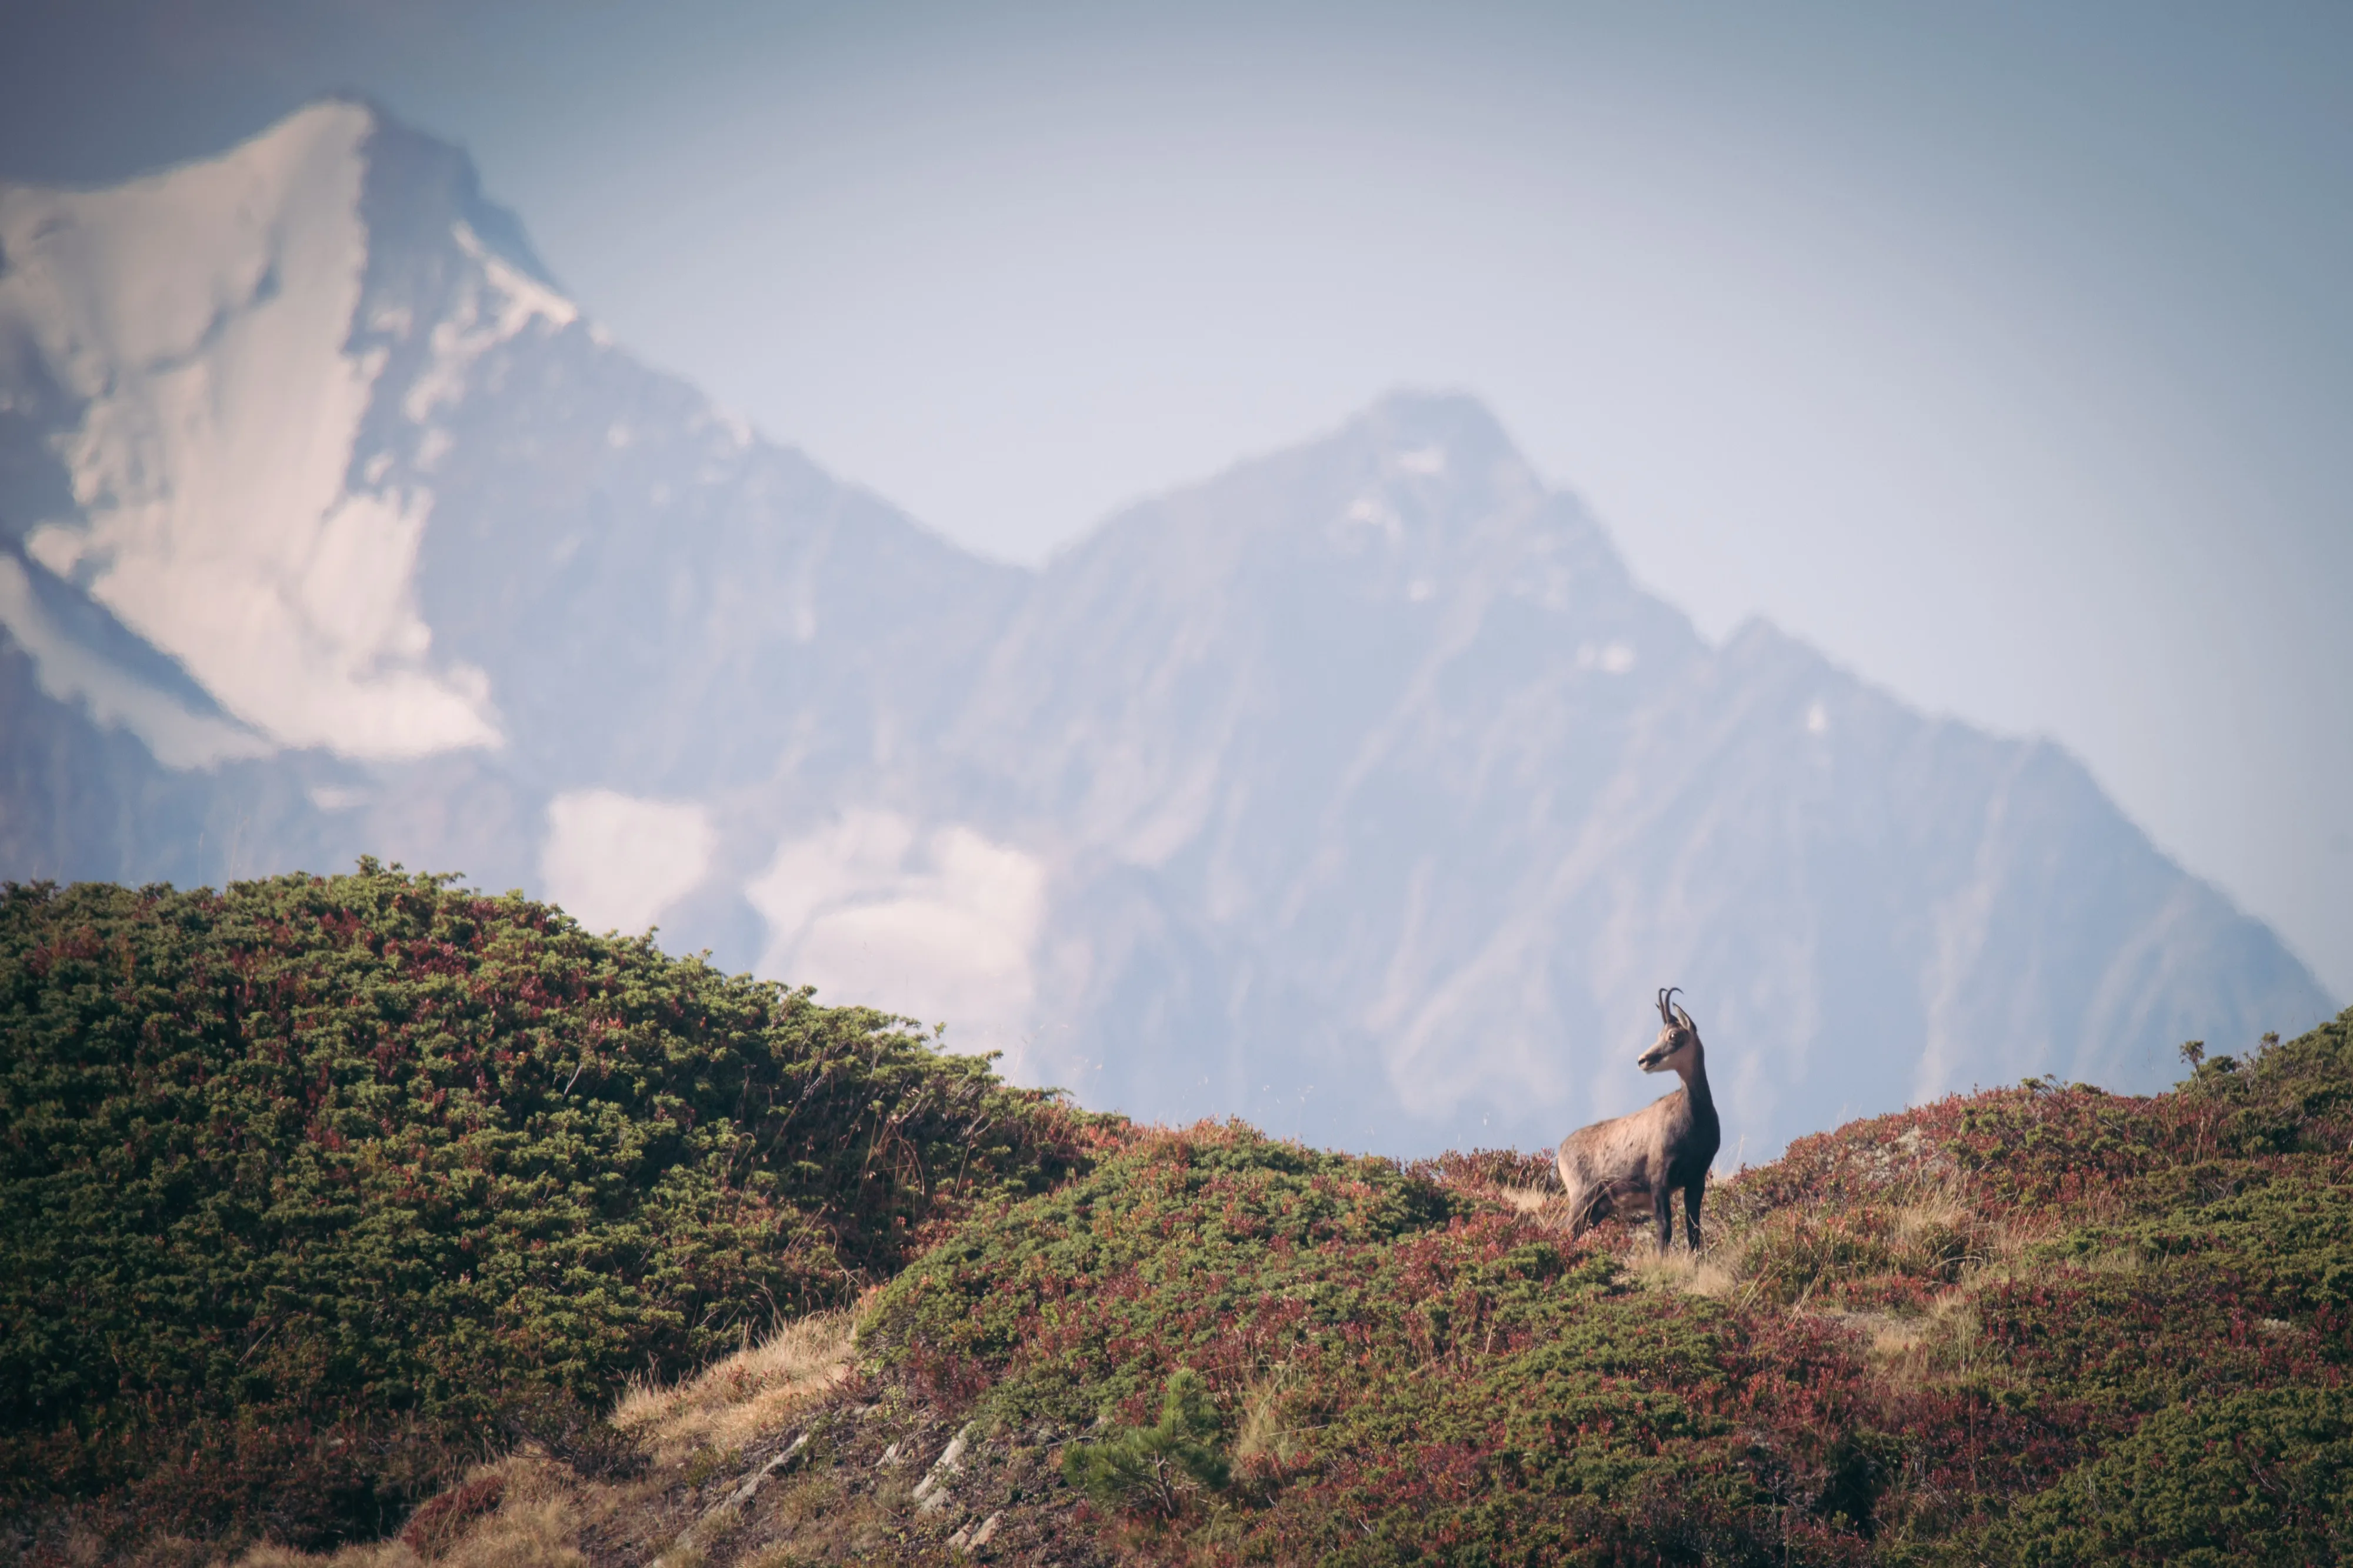
Height is the last piece. Looking up at a bird against the sky gives you the underside and a plain background. Standing level with it, on a ridge or a hillside, gives you the eye, the upper wing and a landscape behind.
A good subject to learn on
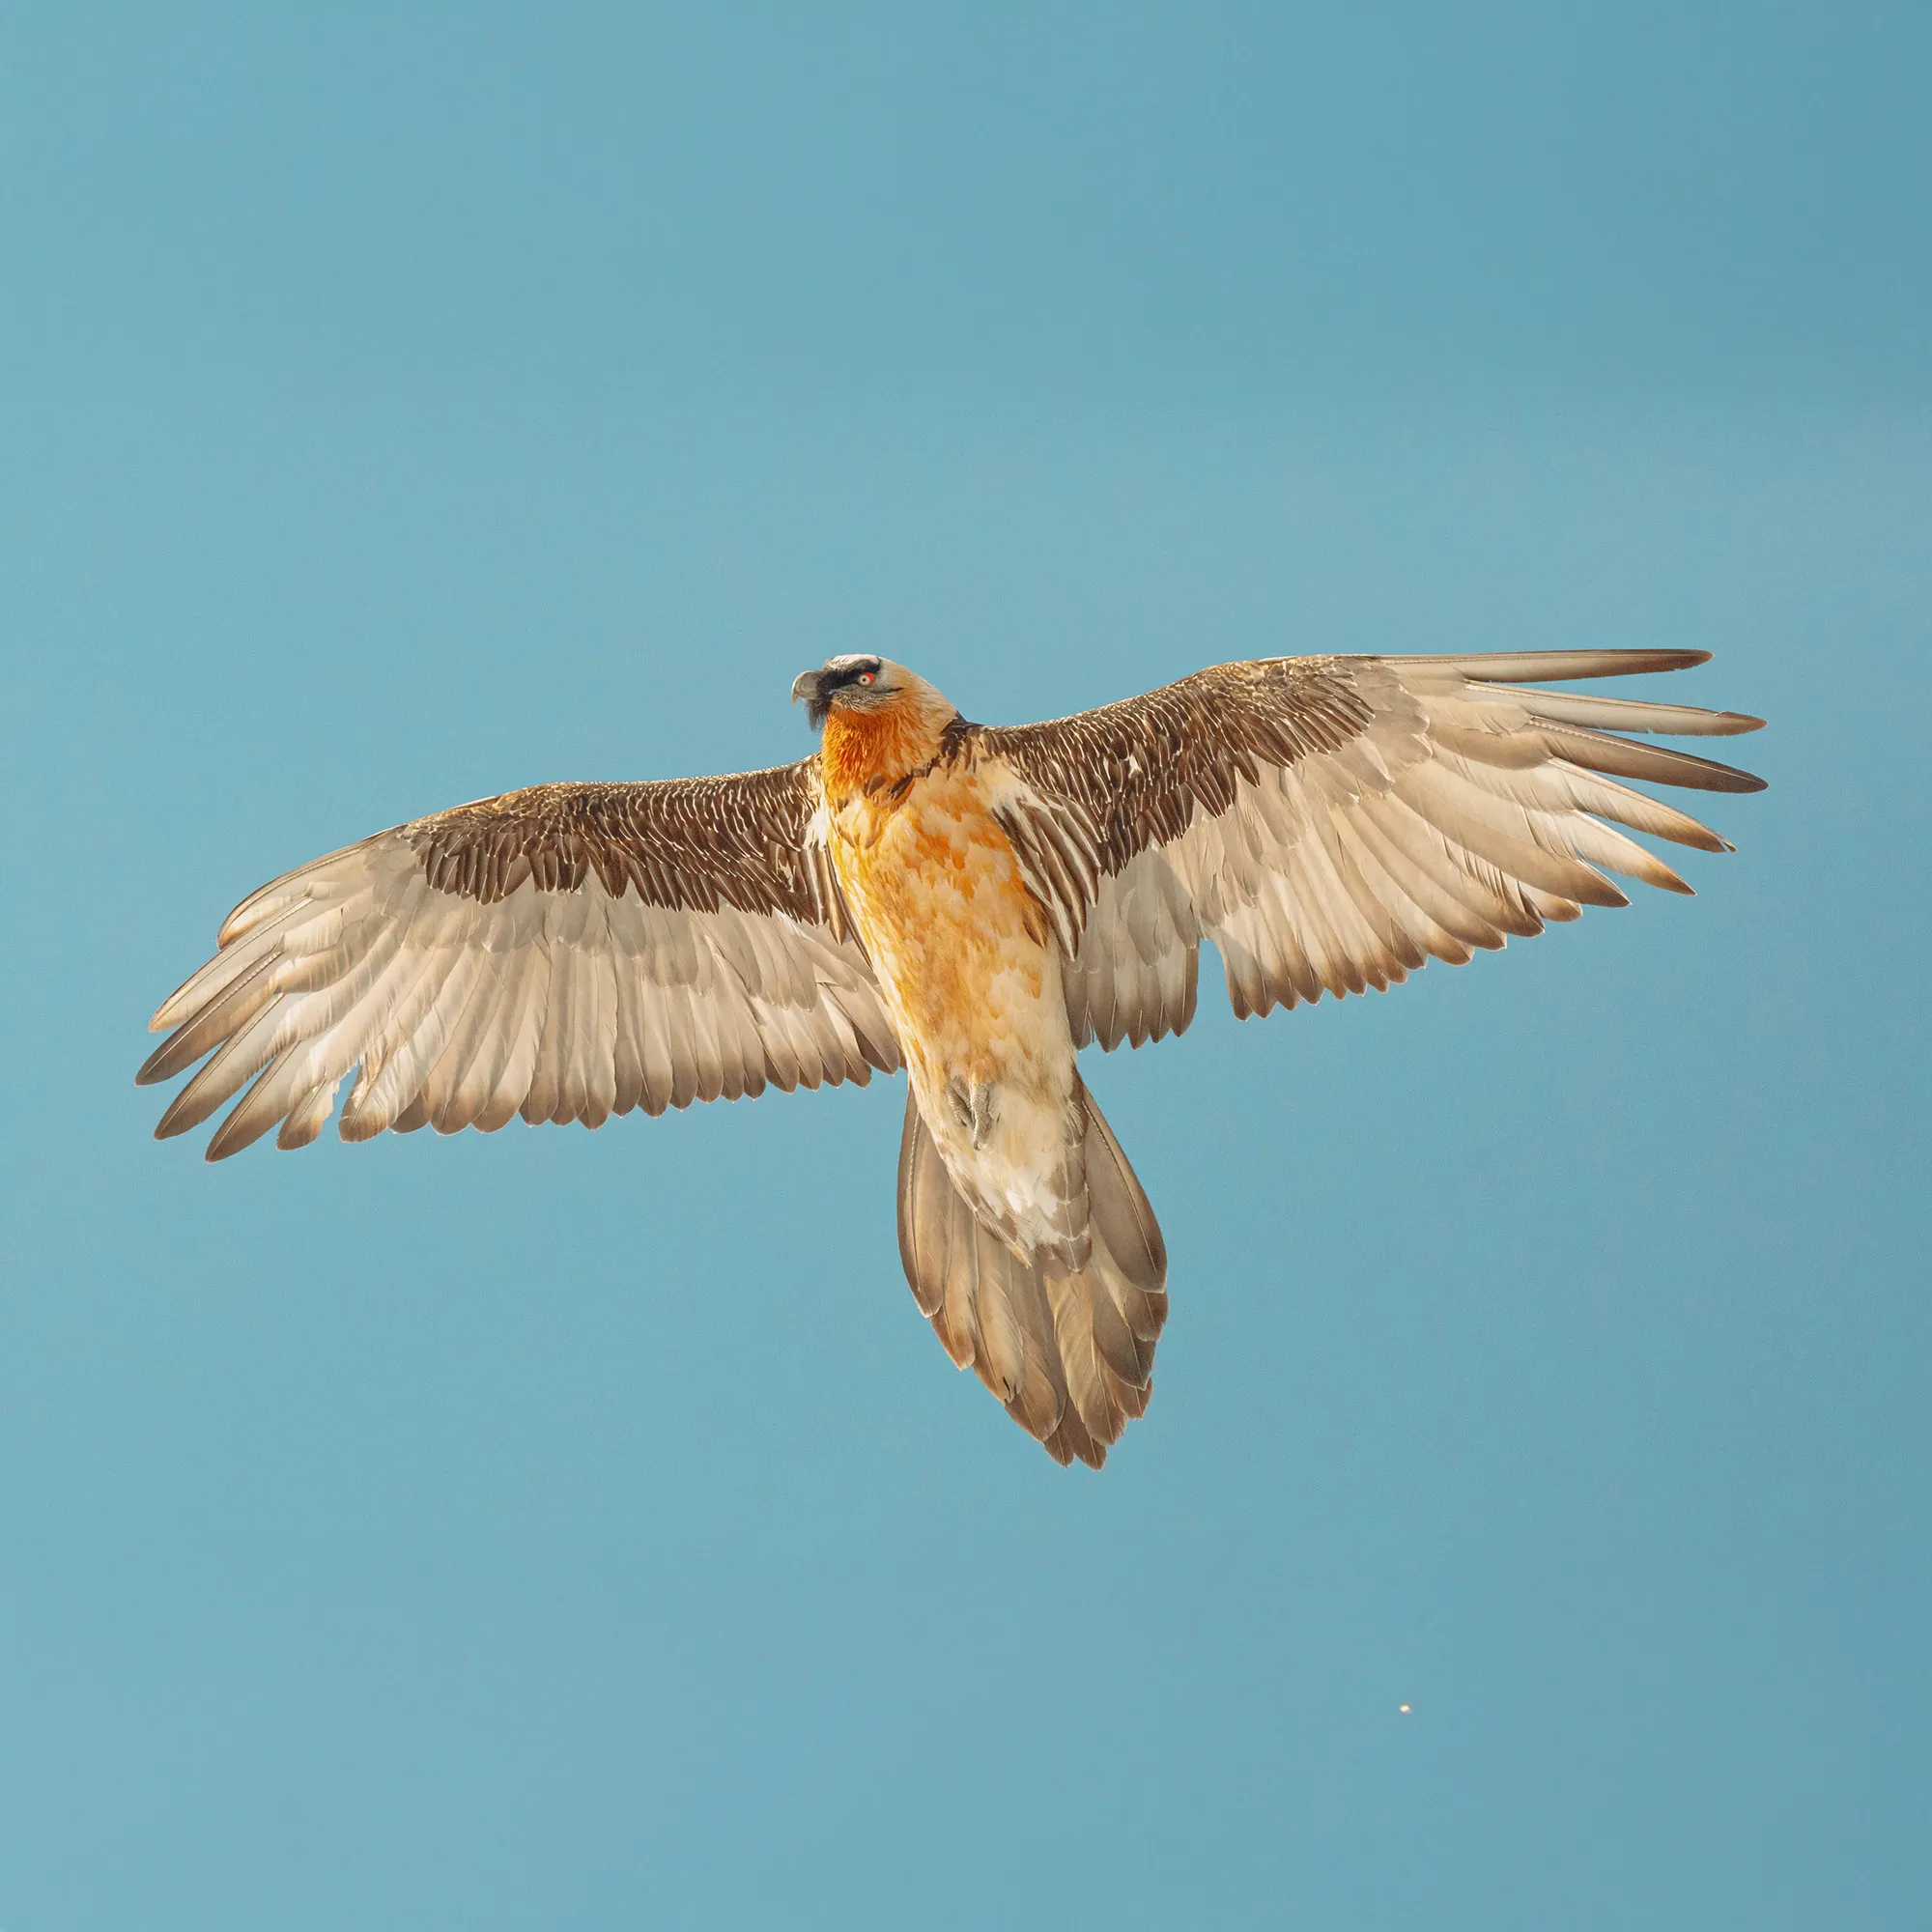
Large, slow, predictable birds are the best teachers. The bearded vultures of Valais are ideal: they are huge, they glide on steady lines, and in winter they pass the same ridges again and again. Once the set-up works on a vulture, it works on anything.