JournalTechnique
Exposing for snow: camera settings for winter wildlife
Why your camera turns snow grey, how much exposure compensation to dial in, and a simple manual method that keeps animals correctly exposed all day.
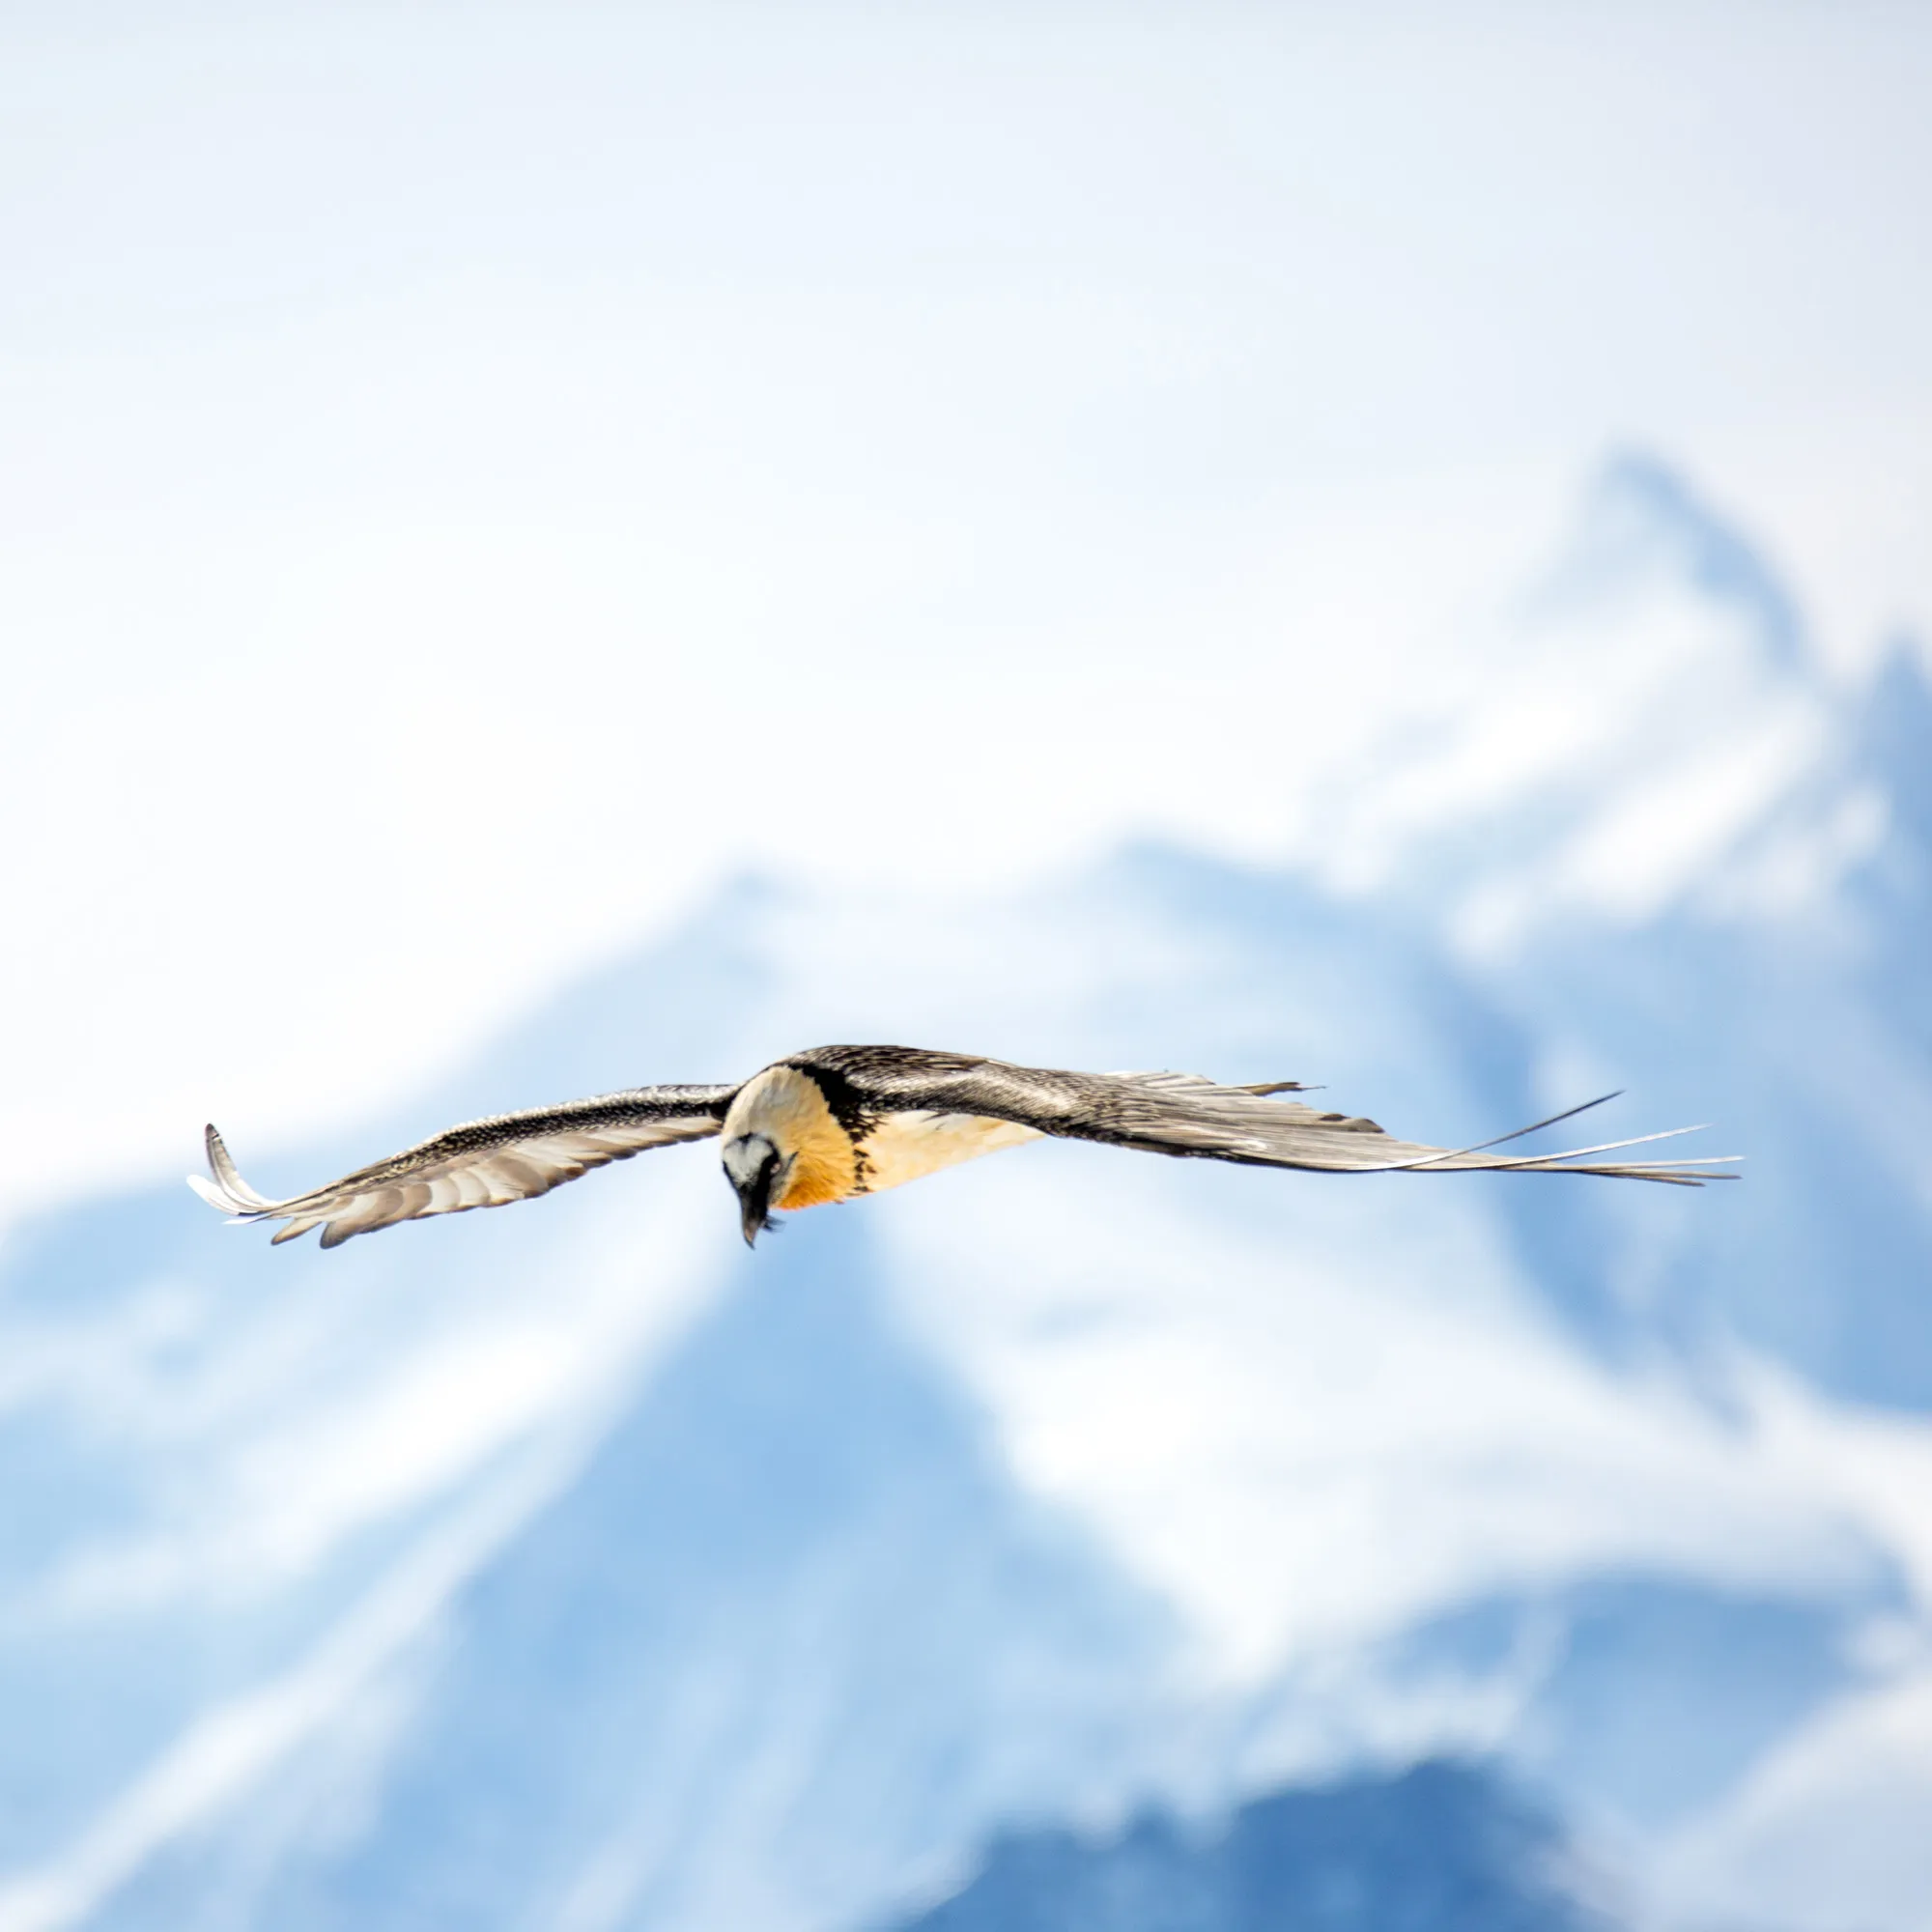
Winter is the best season for wildlife photography in the Alps, and the season when most people come home with disappointing files. The snow looks grey, the animals look like silhouettes, and the whole set feels flat. The cause is nearly always exposure, and the fix takes about five minutes to learn.
Why snow comes out grey
Your camera’s meter assumes that every scene, averaged out, is a mid-tone. Point it at a hillside of fresh snow and it does exactly what it was built to do: it darkens the picture until the snow is mid-grey.
Anything darker than the snow, which usually means your subject, gets pushed down into shadow along with it. A chamois in its black winter coat becomes a featureless shape.
The quick fix: exposure compensation
If you shoot in aperture priority, shutter priority, or manual with auto ISO, add positive exposure compensation whenever snow fills much of the frame.
| Scene | Compensation |
|---|---|
| Overcast, snow filling the frame | +1 to +1.3 |
| Bright sun on snow | +1.3 to +2 |
| Subject small against snow | +1.7 to +2 |
| Dark subject filling most of the frame | 0 to +0.7 |
These are starting points. Take a test frame and look at the histogram: the snow should form a peak close to the right-hand edge without touching it.
The reliable fix: go manual
Compensation has a weakness. As an animal moves from a snowy background to dark rock or blue sky, the meter changes its mind and your exposure shifts, even though the light on the animal has not changed at all.
When the light is steady, full manual solves this:
- Choose your shutter speed and aperture for the subject.
- Point the camera at sunlit snow.
- Raise the ISO until the snow sits just below clipping on the histogram.
- Leave it there.
The animal is now correctly exposed wherever it goes. You only need to adjust when the light itself changes, such as when cloud covers the sun.
Protect the highlights
Blown highlights in snow and white feathers are gone for good. Slightly dark shadows can be lifted later. If you have to err, err a little dark.
- Turn on the highlight warning (“blinkies”) in playback.
- Shoot raw. It gives you far more room to recover bright tones than JPEG.
- Recheck after every change in the light.
Shutter speed, aperture and ISO
Snow reflects a great deal of light, so winter gives you more shutter speed than you might expect.
- Birds in flight: 1/2000 s or faster.
- Running or sparring mammals: 1/1600 s.
- Animals standing or feeding: 1/500 s is usually plenty.
- Falling snow: 1/1000 s freezes flakes into dots; 1/60 to 1/125 s turns them into streaks.
Start around f/5.6 to f/8 and let the ISO fall where it needs to. Modern cameras handle ISO 1600 and above with ease, and a sharp, slightly noisy picture always beats a clean, blurred one.
White balance
Auto white balance often leaves snow looking blue, especially in shade. If you shoot raw you can correct this afterwards. If you want it right in camera, the daylight preset in sun or the cloudy preset in shade will get you close.
Do not neutralise it completely. A little blue in the shadows is what makes snow look cold.
A short checklist for the field
- Raw, highlight warning on.
- Meter off the snow, or dial in +1 to +2.
- Check the histogram on the first frame.
- Recheck every time the light changes.
- Keep a spare battery in an inside pocket. Cold drains them quickly.
Get this right once and it becomes a habit. Every winter shoot after that is easier.